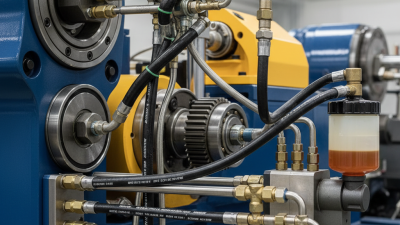
Choosing grease line tubing and fittings in 2026 means matching the whole assembly to the job, not just finding a tube that fits. Pressure, lubricant type, temperature, vibration, and routing all matter. A line beside a warm gearbox faces different conditions from one exposed to road spray or repeated movement. Check the equipment manufacturer’s pressure limits and connection specifications before comparing materials. Small details matter. A fitting that threads on easily may still have the wrong sealing face or size.
Start with the lubrication system’s operating range, then consider tubing material, bore size, bend radius, and fitting style. Steel, stainless steel, and compatible polymer options each suit different environments; none is automatically best. Look for reliable product data, including pressure ratings and lubricant compatibility, rather than relying on appearance alone. Inspect the proposed route for sharp edges, heat sources, and points where vibration could rub through a line. Fit matters.
There is no perfect selection made from a catalog alone. A line may look sound during installation and still kink when a machine moves. That is easy to overlook. This guide explains how to assess key specifications, compare common materials, choose compatible fittings, and avoid practical installation problems. It also highlights what to verify with the manufacturer, because a few minutes checking system requirements can prevent leaks, poor grease delivery, and avoidable maintenance.
How to Choose Grease Line Tubing and Fittings in 2026?
Start with the lubrication system’s actual demands. Note the number of lubrication points, required delivery rate, line length, and machine movement. A short, fixed run near a bearing has different needs from a long line crossing a vibrating frame. Check the pump’s rated pressure and account for possible pressure spikes. Small details matter.
Operating conditions narrow the choices. Record the lowest and highest temperatures, then consider vibration, abrasion, moisture, and exposure to chemicals. Select tubing and fittings rated for the expected pressure and temperature, with suitable material compatibility. Match the lubricant’s base oil and additives to the tubing and seals. Grease consistency and low-temperature flow also matter; a lubricant that moves easily in a warm workshop may travel slowly on a cold start. A tidy installation can still be a poor one. I would recheck the routing before ordering parts.
Tips: Leave room for inspection and service. Avoid sharp bends and unsupported spans that can rub against the machine. Confirm fitting connections and component ratings against the equipment documentation. If lubricant compatibility is unclear, ask a qualified supplier to verify it. The first layout may need revision.
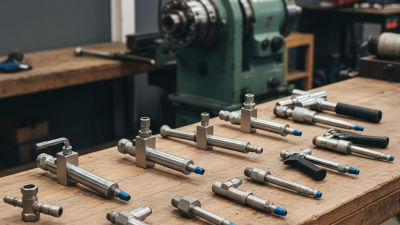
In 2026, choose grease-line tubing by checking working pressure, temperature, vibration, and exposure to water or chemicals. Stainless steel resists corrosion and suits demanding environments, but costs more and needs compatible fittings. Carbon steel can handle high pressure when correctly sized, yet rust is a concern outdoors. Copper bends easily, though vibration can fatigue it. Nylon tubing is lightweight and flexible, but heat, UV exposure, and pressure can limit its service life.
The NACE IMPACT study estimated that corrosion costs the global economy US$2.5 trillion annually, or 3.4% of global GDP. That figure covers many industries, not grease lines alone, but it highlights why wet or salty environments deserve attention. Do not select by material name alone: pressure capacity depends on tube diameter, wall thickness, fitting design, and operating temperature. Check the supplier’s published ratings for the complete assembly, including any temperature derating. The trade-off is not always tidy; a tougher tube may also be harder to route.
Tip: Inspect the route before ordering. A tight bend, hot machine surface, or moving joint can change the best choice. Record peak pressure and temperature, then compare them with documented limits. If conditions are uncertain, measure them first.
For grease-line tubing in 2026, start with the required delivery rate, line length, grease consistency, and coldest operating temperature. Then select an internal diameter, not just a nominal tube size. A 6 mm bore has 2.25 times the cross-sectional area of a 4 mm bore. That can reduce flow resistance, but it does not guarantee adequate delivery. Grease is non-Newtonian, so pressure loss also depends on formulation, temperature, bends, and pump output. The NLGI consistency chart, based on ASTM D217, places Grade 2 grease at a worked penetration of 265–295 tenths of a millimeter. That measurement describes consistency, not flow rate. Keep that distinction clear.
Tips: Record the actual inside diameter and wall thickness. Compare the tubing’s pressure rating with the system’s peak pressure, including startup. Keep runs short and bends broad. Check the manufacturer’s pressure-drop data for the specific grease and temperature. Small details matter.
Wall thickness must withstand pressure and vibration without leaving an unnecessarily narrow bore. Verify the fitting’s connection type and rated pressure alongside the tube; a strong tube cannot compensate for a weak joint. For a long run or cold environment, test delivery at the farthest lubrication point under real operating conditions. I would not size from pump pressure alone. It is an easy assumption, and sometimes a costly one.
How to read this chart: The bars show theoretical flow at an assumed mean velocity of 0.10 m/s, calculated from each tube’s internal diameter. The example dimensions use a 1.0 mm wall: 6 × 1 mm, 8 × 1 mm, 10 × 1 mm, and 12 × 1 mm (outer diameter × wall thickness). These are illustrative calculations, not universal tube specifications or flow ratings. Actual grease flow depends on grease properties, temperature, line length, pressure, and fittings. Verify the tube and fitting pressure ratings and size the line for the required flow in your system.
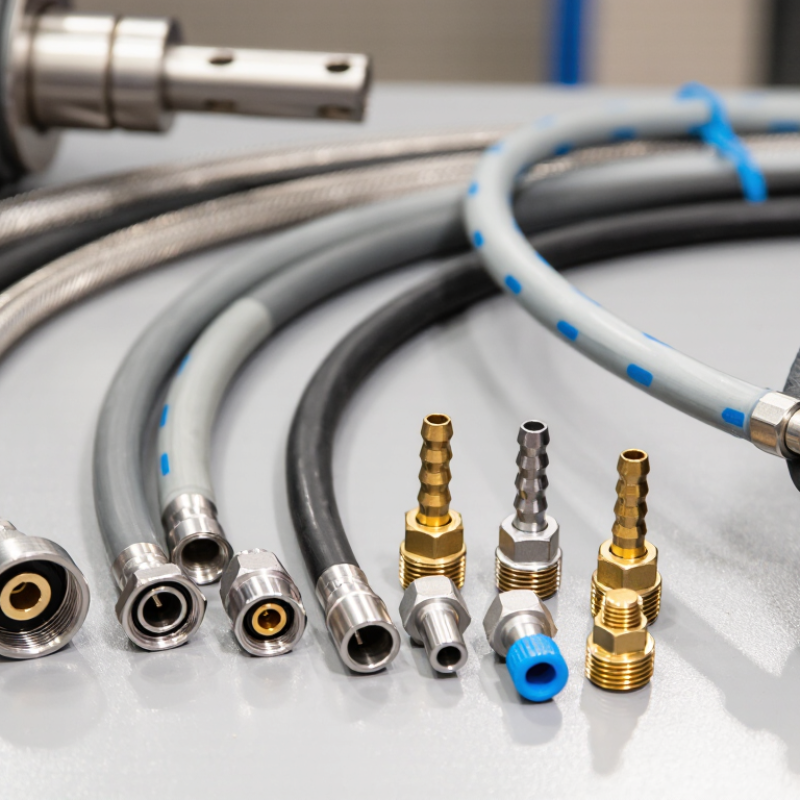
A grease line is only as dependable as its smallest connection. Match each fitting to the tubing material, outside diameter, wall thickness, and working pressure. Check the equipment documentation before choosing a thread or connection type; similar-looking threads may not seal together. A small mismatch can leak under pressure.
Choose fittings designed for the actual tube, such as compression fittings for compatible rigid tubing or flare connections where the system specifies them. Do not force a fitting that feels loose or binds early. It may have the wrong thread pitch or seat. Clean cut ends and remove burrs so they do not damage seals or restrict grease flow. Keep open tubing capped during installation. Dirt matters.
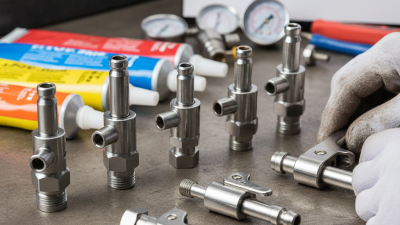
Sealing depends on the joint design. A tapered pipe thread may call for a suitable thread sealant, while a flare or compression joint typically seals at its mating surfaces. Adding sealant where it does not belong can obstruct a passage or interfere with seating. Tighten to the fitting maker’s guidance, then inspect the line during a controlled lubrication cycle. Look for seepage, bulging, or a fitting that shifts. I still recheck connections after the first cycle; a neat-looking joint is not proof of a sound seal.
Before selecting grease line tubing, verify the pressure and temperature ratings against the equipment’s actual operating range. Check the grease type, tubing material, fitting design, and thread specification for compatibility. A rating that looks adequate on paper may change at higher temperatures. Confirm the applicable equipment and industry standards in current technical documents, rather than relying on a familiar-looking part size. Keep those documents with the maintenance records.
Plan the route before cutting tubing. Allow for movement and vibration, and follow the specified bend radius; a tight turn can restrict flow or fatigue the line. Keep fittings accessible, and use the installation torque and sealing method specified for the connection. Clean cut ends carefully. Small debris matters. After startup, inspect joints for seepage and check that grease reaches the intended point. Set inspection intervals around duty cycle and operating conditions, then record leaks, replacements, and recurring blockages. One detail is easy to underestimate: a line can look sound while rubbing against a frame. Recheck clearances during service, especially after nearby components are adjusted. A tidy installation helps, but it is not proof of reliable delivery.