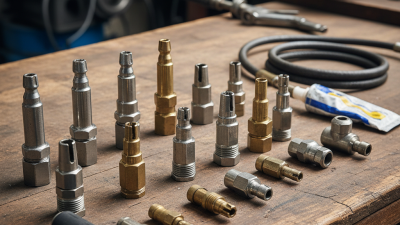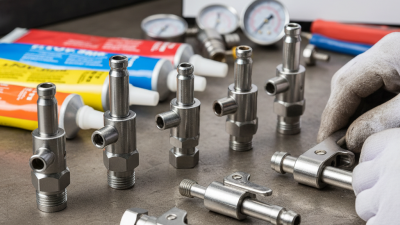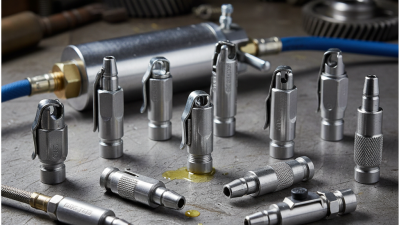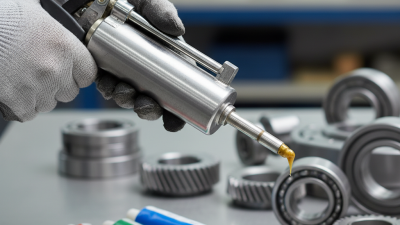
Using a locking grease gun coupler can make routine lubrication cleaner, faster, and more consistent. In 2026, many workshops rely on this fitting for machinery, vehicles, agricultural equipment, and industrial bearings. Its sleeve locks onto the grease nipple, reducing hand pressure during pumping. That simple connection can prevent grease leaks and accidental release.
This guide explains how to use a locking grease gun coupler safely and effectively. You will learn how to inspect the coupler, clean the fitting, attach it correctly, and release it without damaging the nipple. Always check the manufacturer’s pressure rating before applying grease. A small metal fitting still deserves careful attention.
Keep the coupler straight.
In practical servicing, alignment matters more than many beginners expect. A crooked connection may feel tight while grease escapes around the joint. Dirt can also enter the fitting and affect bearing life. Experienced technicians usually wipe the nipple before connection and confirm that fresh grease reaches the intended point. They also stop when resistance rises unexpectedly.
Not every problem comes from the locking mechanism. The grease type, blocked passage, worn nipple, or damaged hose may be responsible. I have seen users pump harder when cleaning or replacement was the better choice. That habit wastes grease and may strain the tool. This introduction provides a reliable foundation, but equipment manuals remain the final reference for model-specific procedures.
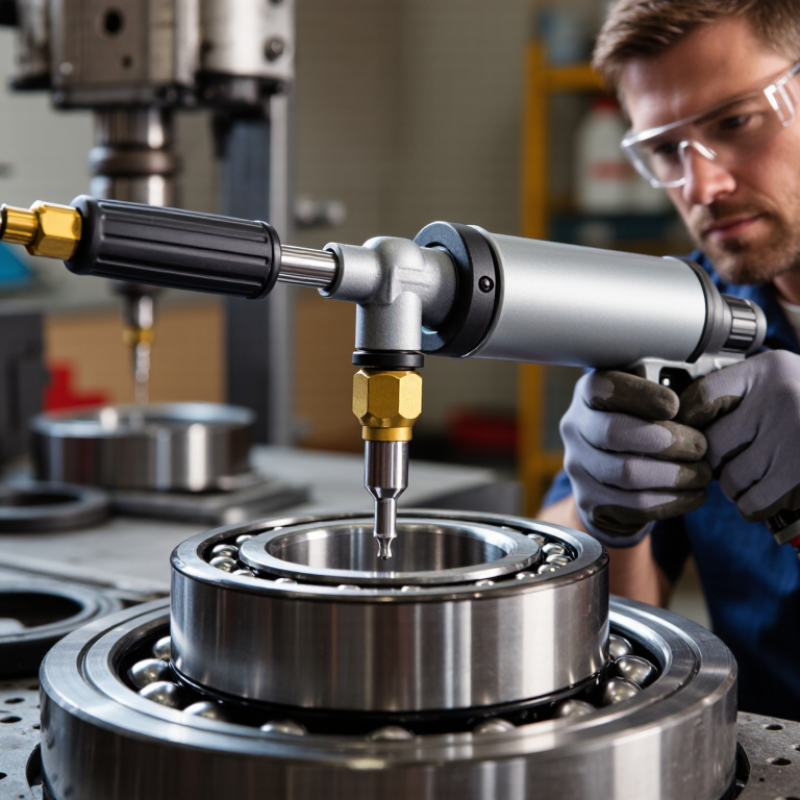
A locking grease gun coupler connects a grease gun to a fitting without constant hand pressure. Its internal jaws grip the fitting’s neck. A sliding sleeve or lever controls that grip. When locked, the coupler stays attached during pumping, even when pressure rises. This design helps prevent grease leakage and reduces tired fingers during routine maintenance. I have found it especially useful beneath vehicles, where access is awkward and visibility is limited.
To use it, wipe dirt from the fitting and coupler opening. Push the coupler straight onto the fitting. Then move the sleeve or locking lever into position. Pump slowly and watch the seal around the connection. If grease escapes, stop and check the angle, fitting condition, and coupler jaws. Do not force a damaged fitting. Small alignment mistakes can imitate equipment failure. Release the lever before pulling the coupler away. Pulling while locked may damage the fitting.
Tips: Clean the coupler after each use. Keep the locking mechanism lightly lubricated, but avoid excess grease near the jaws. Check the hose for cracks before applying pressure. Use a coupler that matches the fitting size and grease gun connection. Test it at low pressure first. That extra moment often prevents a messy surprise. A locking coupler is convenient, but it cannot correct worn fittings or poor maintenance.
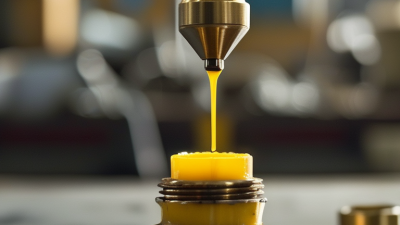
Before using a locking grease gun coupler in 2026, prepare the work area and inspect every contact point. Wear safety glasses, snug gloves, and protective footwear. OSHA identifies flying particles and pressurized fluids as workplace hazards requiring suitable protection. The U.S. Bureau of Labor Statistics reported 2.6 million nonfatal workplace injuries and illnesses in private industry during 2023. A small maintenance task still deserves disciplined preparation. Check the coupler jaws for distortion, confirm the hose has no cuts, and verify that the pressure rating matches the grease gun. Do not rely on appearance alone.
Clean the grease fitting with a lint-free rag before attachment. Wipe the coupler too. Dirt can prevent a full lock and force grease past the seal. Press the coupler straight onto the fitting until the locking sleeve engages. Keep fingers away from the joint. NIOSH warns that high-pressure fluid injections may create a tiny skin opening while causing severe internal damage. Never test a suspected leak with your hand. Stop if the hose swells, the coupler slips, or grease escapes sideways. Release pressure before removing it. I sometimes recheck the lock twice; that feels slow, but rushing creates worse problems. One detail is easy to miss: a locked coupler is not a hands-free device. Keep stable footing and support the hose, especially around machinery. If the fitting remains blocked, stop and investigate instead of increasing pressure. Sources: OSHA Eye and Face Protection guidance; NIOSH Injection Injury safety guidance; U.S. BLS 2023 workplace injury data.
Before connecting, wipe the grease fitting with a clean, lint-free cloth. Dirt can enter the bearing when the coupler seals. Check the fitting for cracks, looseness, or a blocked ball. Replace damaged fittings before applying pressure. The NLGI 2023 Grease Production Survey reports global grease production above two million metric tonnes, showing how widely grease remains used in industrial maintenance. Yet more grease does not mean better lubrication.
Hold the coupler directly over the fitting. Keep it square. Push the coupler down firmly, then slide or press the locking sleeve, depending on its design. A proper lock should grip the fitting without twisting the hose. Give the coupler a gentle pull. It should stay attached. Do not force it. Misalignment can damage the fitting or cut the internal seal. My practical mistake was pumping before checking the lock; the coupler slipped, and grease spread across the joint.
Pump slowly while watching the seal and hose connection. If the handle becomes unusually hard, stop and investigate. Excessive resistance may indicate blocked passages, overfilled lubricant, or a damaged bearing seal. The National Lubricating Grease Institute recommends controlling contamination and applying the correct grease amount, not simply adding grease until resistance increases. Release pressure through the grease gun’s relief feature before removing the coupler. Then unlock the sleeve and pull straight back. Inspect the fitting afterward. A small grease film is normal; a bent fitting is not.
A locking grease gun coupler holds firmly on a clean grease fitting, leaving both hands available for controlled pumping. Park the machine safely, switch off power, and wipe dirt from the fitting. Wear eye protection and gloves. Small grit can damage the coupler jaws or enter the joint.
Push the coupler straight onto the fitting, then slide or press the locking sleeve until the jaws grip the fitting. Do not twist aggressively. Pump the grease gun slowly and watch for resistance, seal movement, or fresh grease around the joint. Stop when the manufacturer’s service guide specifies the amount, or when the seal begins to expand. More grease is not always better. Keep it steady.
To release the coupler, stop pumping and reduce pressure inside the gun. Pull back the sleeve while gently rocking the coupler, then lift it away. Never force a locked coupler against trapped pressure. I have found that rushing this step can bend a fitting or tear the coupler seal. Clean the coupler after use, inspect its jaws, and store it with the sleeve relaxed. Check the connection before every job; a worn locking mechanism may feel secure but still leak under pressure.
How to Use a Locking Grease Gun Coupler in 2026?
A locking grease gun coupler works best when its contact surfaces are clean. Before cleaning, release pressure from the grease gun and disconnect it from the fitting. Wipe away heavy grease with a lint-free cloth. Use a mild, compatible cleaner for stubborn residue. Avoid soaking seals in harsh solvents. They may swell or crack later. A small nylon brush can reach the coupler’s jaws and internal edges. Do not use a sharp metal tool. It can deform the locking mechanism.
Inspect the jaws, release sleeve, threads, swivel, and rubber seal under bright light. Look for rounded gripping edges, cuts, flattened seals, or grease packed inside the moving parts. The coupler should lock firmly, without excessive force. Test it on a clean fitting before applying pressure. I once ignored a slightly damaged seal because the coupler still appeared usable. It later leaked around the fitting. That mistake changed my inspection routine. Replace worn parts according to the manufacturer’s instructions, and never force a stubborn connection.
For storage, wipe the coupler completely dry and apply only a light film of suitable lubricant to moving metal surfaces. Keep the opening covered with a clean cap or plastic protector. Store the tool in a dry cabinet, away from dust, moisture, and extreme heat. Do not leave the coupler attached to a fitting or under pressure. Check it again before the next job. Small residue can hide a serious problem.
Cleaning, inspection, and storage checklist
Clean the coupler after use, inspect the jaws and locking sleeve before each operation, and store it in a dry, protected location. The chart shows a practical maintenance schedule: daily checks before use, cleaning after each use, a detailed inspection every 30 days, and a complete storage-condition review every 90 days.