Why is my locking grease coupler not working when the grease gun still builds pressure? This frustrating problem often begins with a small detail: a worn fitting, an unlocked sleeve, or grease hardened inside the coupler jaws. The handle may feel secure, yet the seal can remain incomplete. Sometimes, the coupler is blamed too quickly.
Lubrication specialist Robert M. Gresham offers a useful reminder: “A fitting connection is only as reliable as the alignment behind it.” That principle explains many workshop failures. If the locking grease coupler sits at an angle, its jaws may grip unevenly. Pressure then escapes around the fitting instead of entering the bearing. Dirt around the zerk can create the same symptom. So can a damaged ball check.
A careful inspection should follow the actual failure. Does the coupler lock firmly? Does grease leak near the jaws? Is the gun’s hose kinked? Check the fitting and coupler separately. Clean the fitting before reconnecting. Try a known-good fitting if available. Do not keep forcing the lever. That habit can damage threads, seals, or the coupler itself.
A blocked bearing may also be responsible. The coupler might work correctly, while the lubricant has nowhere to go. Pressure can rise sharply. Release pressure safely before removing any connection. A pressure-rated replacement is important, but it is not a complete diagnosis.
This guide examines these causes in practical detail. It also admits an uncomfortable possibility: sometimes the tool is fine, and the maintenance method is the real problem. Small alignment changes can reveal the answer.
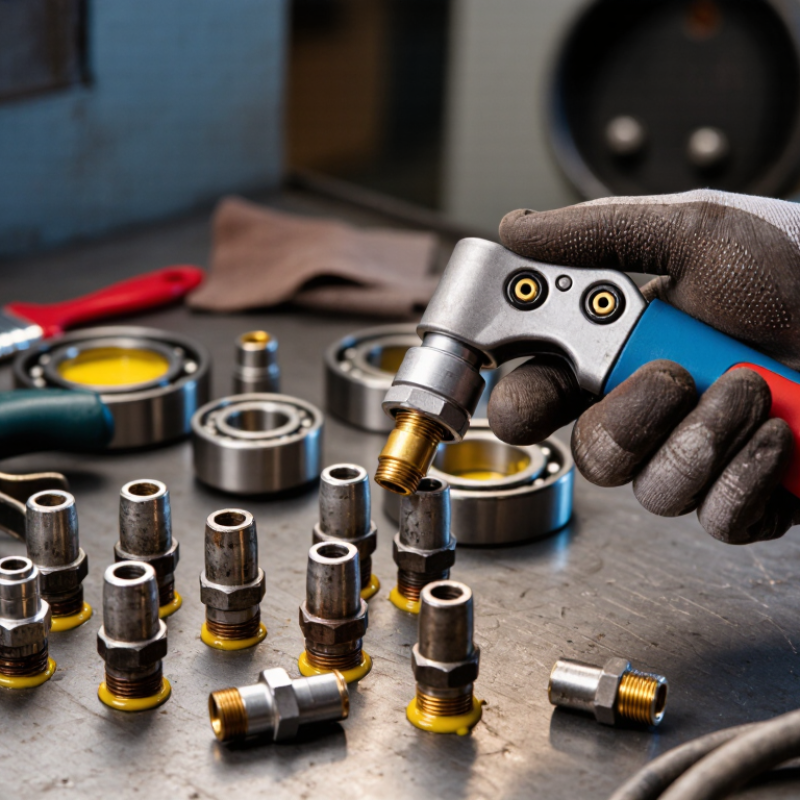
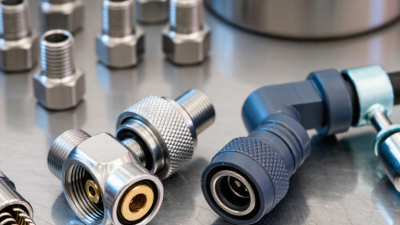
A locking grease coupler may show several warning signs. It can leak grease around the nose, fail to latch, or detach during pumping. Sometimes, the handle locks, but grease does not enter the fitting. These symptoms often indicate worn gripping jaws, a damaged seal, or a blocked coupler passage. Dirt inside the fitting can also prevent proper engagement. Clean both connection points before testing again.
In field maintenance, I check alignment before increasing pressure. Push the coupler straight onto the fitting, then operate the locking sleeve gently. A tilted connection can damage the jaws and create a false pressure problem. I once treated a high pressure reading as proof of a secure connection. That assumption was wrong. A gauge may show pressure while the coupler leaks or the fitting remains blocked.
Many heavy-duty locking couplers are rated up to 10,000 psi. This rating is a maximum limit, not a normal working target. Never exceed the lower rating of the coupler, hose, fitting, or grease gun.
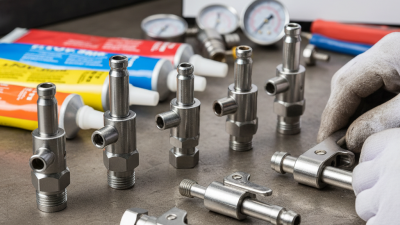
Inspect the hose for bulges and check seals for cuts. Release pressure before removing a stuck coupler. If grease still will not flow, replace damaged parts and inspect the fitting for internal blockage. A pressure relief device and suitable eye protection provide added control during troubleshooting.
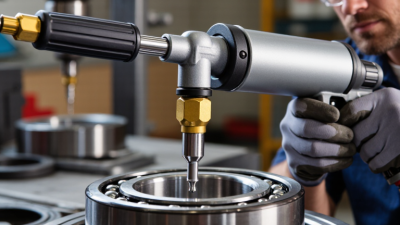
When a locking grease coupler will not attach, inspect the grease fitting first. Dirt, dried grease, or a damaged shoulder can prevent the jaws from seating. Wipe the fitting with a clean lint-free cloth. Check whether the ball moves freely. A stuck ball can block grease flow and create misleading pressure. Do not force the coupler onto a fitting that looks bent or flattened.
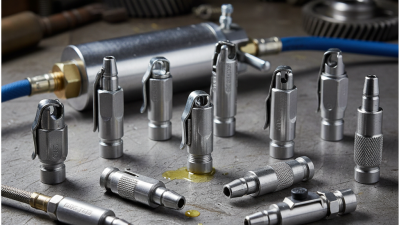
Examine the coupler seal closely. A torn seal may leak around the fitting instead of building pressure. Look for cuts, hardening, or a flattened edge. The locking jaws should open, grip evenly, and release without excessive force. If one jaw appears lower than the others, internal wear may be involved. I have seen operators replace the seal when the real problem was a worn jaw. Both parts deserve inspection.
Check the 1/4"-28 UNF connection carefully. Confirm that the threads are clean, correctly matched, and not cross-threaded. Start the connection by hand. It should turn smoothly. Stop immediately if it binds. Excessive tightening can distort the fitting or damage the coupler body. Also inspect for side loading, because an angled grease gun can pull the coupler loose. Pressure may remain inside the line, so release it before removing the coupler. My first assumption is often a blocked fitting, but the connection itself deserves equal attention.
A locking grease coupler usually fails for three practical reasons: poor alignment, incomplete locking, or a blocked grease path. Start with alignment. Wipe the fitting and coupler jaws clean. Hold the coupler straight against the fitting, not at an angle. Then press the sleeve firmly until the jaws engage. Pull back lightly. It should stay attached without constant hand pressure.
If it still slips, inspect the fitting and coupler for bent edges, wear, or hardened grease. A damaged fitting can prevent the locking sleeve from closing completely. Next, check the grease path. Remove pressure from the gun, disconnect the coupler, and inspect its opening. Old grease, dirt, or seal fragments may restrict flow.
NLGI’s 2023 Grease Production Survey reports global grease production above two million metric tonnes. That scale makes clean handling and correct application more important than many technicians expect.
Tips: Use a clean cloth. Do not force the trigger. Pump slowly and watch for resistance. If pressure rises sharply, stop and investigate. I have sometimes blamed the coupler too quickly; the blocked fitting was the real fault. Also, a new coupler is not automatically better. Compare its jaws with the fitting, then test it on a known-good point. A small alignment error can waste time, grease, and patience.
A locking grease coupler can fail even when the grease gun appears functional. Start with the basics. Check the pump barrel, follower plate, and grease level. Air trapped inside may prevent pressure from building. Purge the pump according to its instructions, then test it with a calibrated pressure gauge.
Inspect hose flow next. Remove the coupler from the fitting and look for hardened grease, crushed hose sections, or a blocked swivel. Keep hands away from the outlet during testing. Pump slowly and watch for pressure changes. A sudden rise may indicate a blocked fitting, while little pressure suggests an internal leak or worn pump seal. Never exceed the hose, coupler, or pump’s rated pressure.
Tips: Wear eye protection and gloves. Use a clean container beneath the hose. Test the pressure-relief valve only within the equipment’s stated limits. It should release pressure smoothly, without sticking or spraying grease unexpectedly. If the valve remains silent under excessive pressure, stop and depressurize the system safely before inspection. Small leaks can also mislead your diagnosis. Wipe every connection dry, then check again after several pump strokes. I sometimes overlook the coupler jaws themselves; worn jaws may grip briefly, then release under load. Replace damaged parts instead of forcing the connection.
A locking grease coupler may fail when its internal jaws, spring, or sealing washer becomes worn. Dried grease and metal particles can also block the release sleeve. I have seen couplers stay attached after lubrication because the jaws no longer retract evenly. That small fault can waste time and damage a fitting.
Replace worn parts with SAE J534-compatible grease fittings and seals when possible. Check the fitting thread, head shape, and installation angle before replacement. Compatibility matters more than appearance. A new seal should sit flat, without twisting or bulging. Inspect the coupler jaws for rounded edges, then test the sleeve by hand. It should slide smoothly and return under spring tension. Do not force it.
Tips: Clean the fitting first. Use a lint-free cloth. Apply steady pressure while coupling. If grease escapes around the joint, stop and inspect the seal. A loose connection may indicate incorrect sizing, not simply low pressure. I sometimes replace the seal too quickly, then discover hardened grease inside the coupler. That is an easy mistake. A careful cleaning often reveals the real problem. Still, cracked seals, weak springs, and worn jaws should not be reused, especially in high-pressure servicing. Keep replacement parts sealed and dry until installation.